Autel Dealer
Faster Delivery in 3-5 Days
Faster Delivery in 3-5 Days

There are various types of Autel Scanners, and for different vehicle types, brands, and years, they can support one or more diagnostic scanners to scan and determine faults. The scanner can help you or your mechanic to know whether your car is in good condition, so as to Carry out overhaul and maintenance of the vehicle.
Autel Scanner is divided into handheld scanners, flatbed scanners, bluetooth flatbed scanners, supports OBD I and OBD II protocols, wired connection, Bluetooth or WiFi to complete scanning each diagnostic trouble code generated by the car computer.
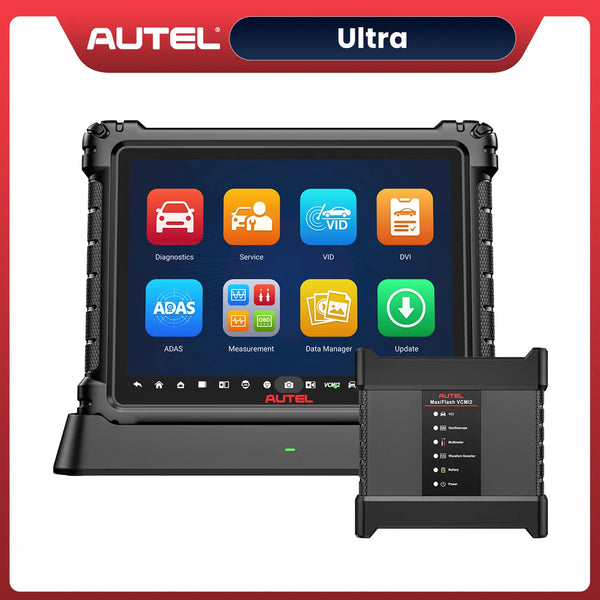
Whether for personal or business needs, the Autel MaxiSYS series, Autel MaxiCheck series and Autel Auto Link series are the most popular Autel Scanner devices and specialized scanners for different types of problems. How to use Autel MaxiSYS series scanners? How do I use the Autel MaxiCheck series scanners?
If your car was built after 1996, it has a Diagnostic Link Connector (DLC) or OBD2 port.
This is a 16-pin connector located on the left side of the driver's instrument panel below the steering column, usually covering a door or bezel.
If you can't find the OBD2 port, you can always check your user manual.
After finding the DLC, make sure your car is turned off.
Use the OBD2 connector cable to plug the end of the OBD2 scan tool into the diagnostic link connector. If you have a Bluetooth OBD2 scanner, plug the scanner directly into the OBD II port.
Next, check the scanner instructions to see if the car should be left in ON or idle mode after connecting to the DLC. This step is important because the wrong method can damage the Scanning Tool application.
With the correct instructions, your scanner can communicate with the car's computer. Confirm connection to your OBD2 system by checking the message on your OBD II scanner.
Your car has a Vehicle Identification Number (VIN). Depending on your scanner, you must enter the VIN before it can generate any OBD2 codes.
The code scanner may also request other details, such as your engine and model type.
Where can I find VINs?
You can usually find the VIN on a sticker in the lower corner of the windshield on the driver's side if requested by the scanner. Other locations include under the hood next to the latch and at the front of the frame.
Now go to the code scanner menu screen where you can select different car systems.
Choose a system so the scanner can display each active and pending code.
What is the difference between active and pending code?
Active codes trigger the check engine light, while pending codes indicate emission control system failures.
Keep in mind that recurring pending tags can become active tags if the same problem keeps recurring.
NOTE: The car code reader or scanner display varies depending on your scanner type. Some will only show the problematic DTCs, while others let you choose which OBD2 codes to view.
Once the OBD codes are displayed, you can interpret them.
Each fault code begins with a letter followed by a set of four digits.
The letters in the DTC can be:
If your scanner supports it, you can also transfer the OBD code to your laptop via a USB cable or Bluetooth.
If you seem unable to read live data from the OBD scanner, please contact your mechanic for assistance.
An OBD scanner or code reader will tell you what's wrong with your car, but it can't tell you how to fix it.
So figure out if the error code means a glitch.
You can then choose between a DIY approach or professional help. However, it is best to take your vehicle to a certified mechanic to avoid costly mistakes.
Once the problem with your car is resolved, the check engine light should turn off after a period of driving. But you can always use the OBD II scanning tool to erase the code instantly.
Go to the main menu of the OBD2 reader and find the Check Engine Lights option. Then press the reset button.
Give it a few seconds or minutes and the engine light should turn off.
NOTE: If the problem is not resolved, you can use the scan tool to erase the error code and temporarily stop the check engine light on. However, since the problem persists, the check engine light will come on again.
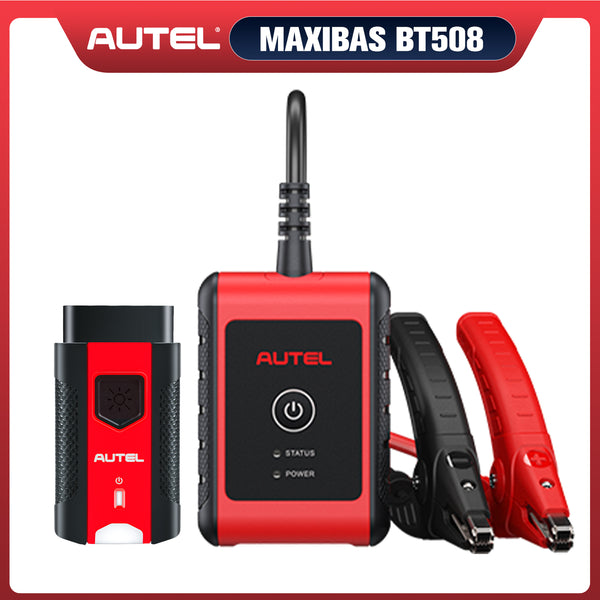
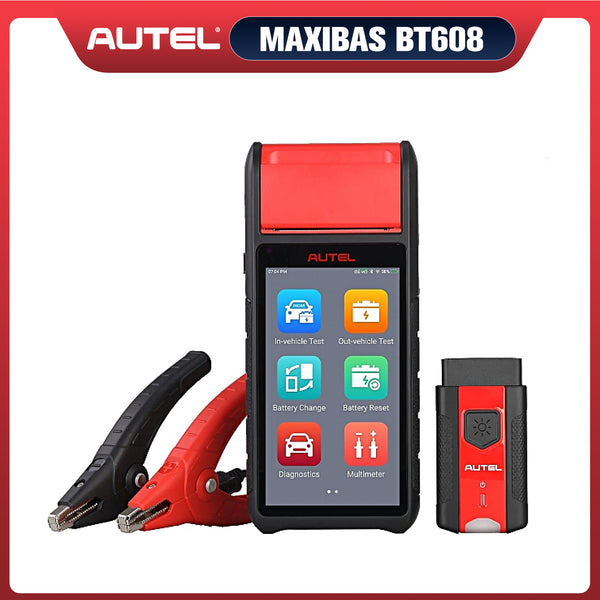
In addition, the high-end Autel Scanner supports special functions including oil reset, EPB (Electronic Parking Brake), SAS (Steering Angle Sensor), BMS (Battery Management System), ABS Brake Bleed and DPF (Diesel Particulate Filter) regeneration , as well as active testing / bidirectional control and battery testing and more.


![IM608 PRO II Full Kit<br>[2-Year Free Update]](http://www.obdprice.com/cdn/shop/files/Autel_IM608S_II_Full_Kit_1_600x600.webp?v=1755662636)

![IM508S PRO<br>[2-Year Free Update]](http://www.obdprice.com/cdn/shop/files/Autel_MaxiIM_IM508S_Pro_600x600.webp?v=1755662755)
![IM508S<br>[2-Year Free Update]](http://www.obdprice.com/cdn/shop/files/AUTEL_MAXIIM_IM508S_600x600.webp?v=1755662895)


Leave a comment