




![IM608 PRO II Full Kit<br>[2-Year Free Update]](http://www.obdprice.com/cdn/shop/files/Autel_IM608S_II_Full_Kit_1_600x600.webp?v=1755662636)

![IM508S PRO<br>[2-Year Free Update]](http://www.obdprice.com/cdn/shop/files/Autel_MaxiIM_IM508S_Pro_600x600.webp?v=1755662755)
![IM508S<br>[2-Year Free Update]](http://www.obdprice.com/cdn/shop/files/AUTEL_MAXIIM_IM508S_600x600.webp?v=1755662895)









How to Code an ECM Battery With an Autel Scanner
To code a replacement battery, connect an Autel scanner to the vehicle’s OBD-II port, identify the vehicle, open the Battery Reset or BMS service function, enter the new battery type and capacity, then complete battery registration. This resets the old battery-aging data and helps the vehicle apply the correct charging strategy.
- Install and secure the replacement battery.
- Connect the Autel scanner and switch the ignition on.
- Select the correct vehicle and Battery Reset/BMS function.
- Enter the new battery’s type and amp-hour capacity.
- Complete registration and clear related fault codes.
Replacing a vehicle battery is no longer always a simple installation job. Many modern vehicles use an ECM, battery sensor, or energy-management module to monitor battery condition, charging history, capacity, and state of charge. After a battery replacement, the vehicle may need to be told that a new battery has been installed.
This procedure is commonly called battery coding, registration, reset, or adaptation. Using an Autel scanner allows the technician to update the battery-management system so it can apply the correct charging strategy to the replacement battery.

Why Battery Coding Matters
A battery-management system learns how an old battery performs over time. It may reduce or adjust alternator output based on the age and condition of that battery. If the system is not reset after replacement, it can continue to treat the new battery as old.
This may cause incorrect charging, reduced battery life, start-stop faults, battery warning messages, or energy-management issues. Coding the replacement battery clears the previous battery-aging data and, when required, stores the new battery’s type and capacity.
The exact term varies by manufacturer. On the Autel scanner, the function may appear as:
- Battery Reset
- Battery Registration
- Battery Replacement
- Battery Adaptation
- BMS Reset
- Energy Management Reset
Required Equipment and Information
Before starting, make sure the new battery has been physically installed correctly. The battery should be secured, terminals should be clean and tight, and any negative-terminal battery sensor should be properly reconnected.
You will need:
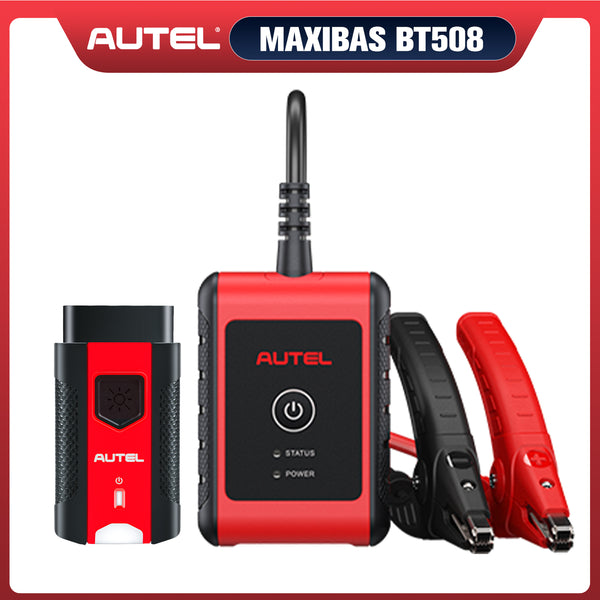
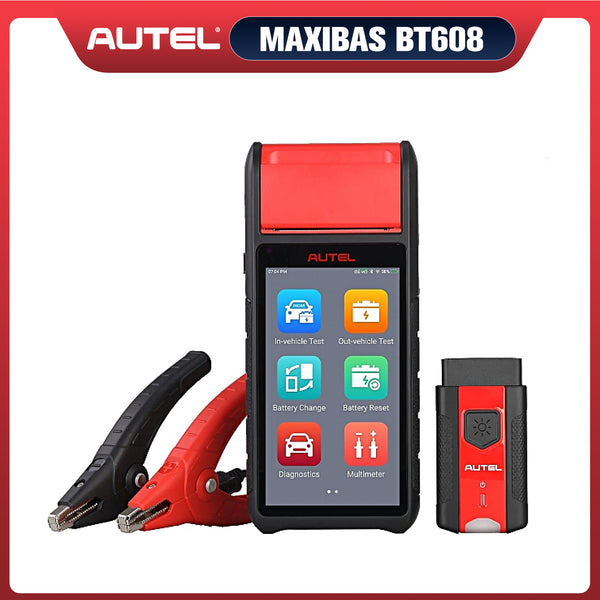
- An Autel diagnostic scanner and VCI.
- Access to the vehicle’s OBD-II diagnostic connector.
- A fully charged replacement battery.
- Stable voltage support if needed.
- The new battery’s type and capacity.
Check the label on the replacement battery before beginning. Important details include battery technology—such as flooded lead-acid, EFB, AGM, or lithium—and capacity in amp-hours (Ah). Typical capacities may be 70 Ah, 80 Ah, 90 Ah, or higher.
Always enter the correct battery specifications. A vehicle coded for the wrong battery type or capacity may use an unsuitable charging profile.

Determine the battery type in advance
Step 1: Inspect the Completed Repair
First, confirm that the replacement battery is properly installed. Check the following:
- Positive and negative terminals are tight.
- The battery hold-down bracket is secure.
- The vent tube is installed where applicable.
- The battery monitoring sensor is connected.
- No wiring or terminal damage is present.
If the vehicle was powered down during the repair, low-voltage faults may be stored in some modules. These can be checked and cleared after the coding procedure.
Step 2: Connect the Autel Scanner
Locate the OBD-II connector, usually under the dashboard on the driver’s side. Connect the Autel VCI or diagnostic cable securely, then turn the ignition on. In most cases, the engine should remain off unless the scanner instructs otherwise.
Power on the Autel scanner and establish communication with the vehicle. Because this procedure writes information to a control module, avoid disconnecting the scanner or switching off the ignition while coding is in progress.
If battery voltage is low, connect a suitable battery support unit. Stable voltage helps prevent communication errors and failed programming.
Step 3: Identify the Vehicle
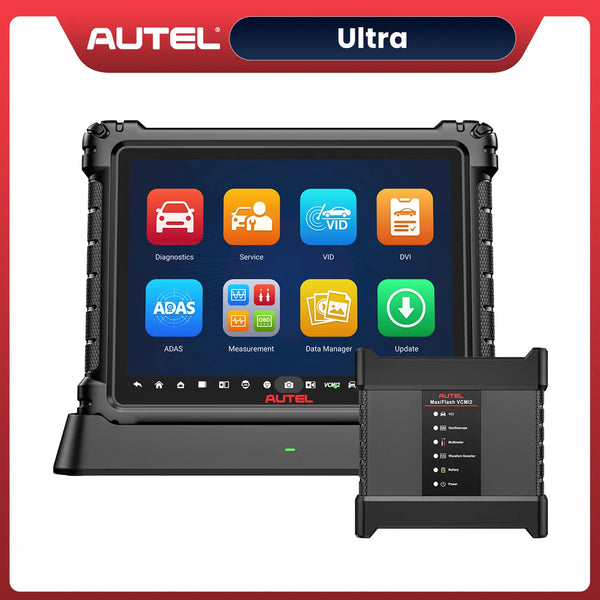
On the Autel home screen, select Diagnostics. Use Auto VIN or Scan VIN if available. The scanner will identify the vehicle and display its make, model, year, engine, and other relevant details.
Verify that this information is correct. If automatic identification does not work, use manual vehicle selection.
Accurate vehicle identification is important because battery-registration procedures vary by manufacturer. Selecting the wrong vehicle may show the wrong menu options or prevent communication with the battery-management module.
Step 4: Find the Battery Service Function
Battery coding may be available from the Autel Service menu or inside the vehicle-specific diagnostic menu.
Start by selecting Service, then look for Battery Reset, BMS, or Battery Registration. If the function is not listed there, enter the manufacturer diagnostic menu and look under:
- Special Functions
- Adaptations
- Maintenance
- Service Functions
- Body Control Module
- Energy Management
- Battery Management System

Autel Hot Functions Display
Different manufacturers store this function in different modules. It may be located in the ECM, body control module, central electronics module, battery management module, or gateway.
Choose the function that specifically applies to battery replacement or battery registration.
Step 5: Review the Existing Battery Data
The Autel scanner may display the battery information currently stored in the vehicle. This can include battery type, capacity, serial number, manufacturer code, installation date, or battery condition.
Review this information before making changes. It confirms that the scanner is communicating with the correct module.
If the replacement battery is exactly the same type and capacity as the original, the vehicle may only require a basic battery-registration or reset function. This clears the old battery’s learned data.
If the battery type or capacity has changed, the new information must be entered. For example, replacing a flooded battery with an AGM battery requires the vehicle to be coded for AGM technology. Likewise, a change from 70 Ah to 80 Ah should be updated in the system.
Step 6: Enter the New Battery Information
Follow the Autel prompts and select the correct details for the replacement battery. Depending on the vehicle, you may need to enter:
- Battery type.
- Capacity in Ah.
- Manufacturer.
- Serial number.
- Installation date.
- Whether the battery matches the original specification.
Match the information to the new battery label as closely as possible. Do not assume that all batteries use the same charging strategy. AGM, EFB, and conventional batteries are designed differently and may require different charging control.
If the exact capacity is not listed, select the closest manufacturer-approved option. If the scanner requests a serial number or manufacturer code, enter it when available.

Enter the New Battery Information
Step 7: Complete the Coding Procedure
After reviewing the information, select OK, Continue, or Write to start the battery-coding process.
The Autel scanner will communicate with the vehicle module and reset or update the battery-management values. The process normally takes only a short time.
Do not disconnect the scanner, switch off the ignition, or start the engine unless instructed. When the procedure is complete, the scanner should display a message such as “Registration Successful,” “Coding Complete,” or “Adaptation Finished.”
If coding fails, check the ignition position, battery voltage, VCI connection, selected vehicle, and entered battery data. Also confirm that the scanner software is current and that the battery sensor is connected correctly.
Step 8: Clear Codes and Verify Operation
After successful coding, read fault codes from the vehicle modules. Clear any battery-related or low-voltage codes that were created during the replacement process, as long as they do not return immediately.
Then check the instrument cluster for warning messages. Start the vehicle and confirm that the charging system operates normally. Verify that no battery, charging-system, or energy-management warning remains.
On some vehicles, the start-stop system may not activate immediately. It may require a short drive cycle, adequate battery charge, and suitable operating conditions before returning to normal operation.
Conclusion
Battery coding is an essential finishing step after replacing the battery on many modern vehicles. An Autel scanner makes the process efficient: connect to the vehicle, identify it correctly, locate the battery-management function, enter the replacement battery data, complete registration, and verify the repair.
By updating the ECM or battery-management system, the vehicle can recognize the new battery and use the correct charging strategy. This helps prevent premature battery failure, warning lights, and energy-management problems after repair.


