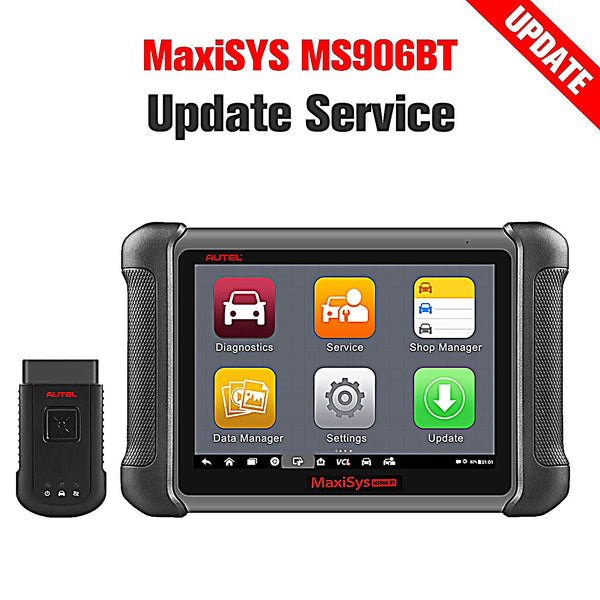
Important Notes on Replacement of New Supplier’s TP Screen on Autel MaxiSys Tablets, like MS906, MS906BT, MS908, MS908S, etc. Customers who have problems when installed a new touch screen on maxisys tablets, there are two things they can do.
- A. Please follow below steps to reflash your MaxiSys to the free system program version before you do TP screen replacement:
- Extract the rar. file and you will get a folder "autel_906/autel_906bt/autel_906ts/ autel_factory_dev/autel_908s".
- Copy the whole folder into a blank TF card;
- Insert the TF card into MaxiSys tablet;
- Reboot the device and the program will be running automatically;
- Remove the TF card from the MaxiSys after reflashing process is done;
- The MaxiSys tablet will be powered on automatically.
- B. If you didn’t try above steps before replacing the touch screen, please have a try after you replace the touch screen. If the new touch screen is still not working properly, then the TP screen you installed might be a new Supplier’s TP Screen. Please follow Point C to have a try.
-
C. Important Notes on Replacement of New Supplier’s TP Screen on MaxiSys Tablets:
- Confirm with the seller your TP Screen Material Number, check bellow lists if your TP screen is one of them.
- Part Number of new TP screen Involved
- NO. Model
-
501003930 MS906
- 501003932 MS906BT
- 501004169 MS908
- 501003923 MS908S
- Note: The above new TP screen is provided by a new supplier, which will be used for TP replacement of the above models.
-
Update operating system to the latest version first. E.g. Maxisys 906 V03.46.00, Maxisys906BT V03.31.00 , MS908 V03.41.00. If the MaxiSys was out of update period, please extend your update service and then download new firmware.
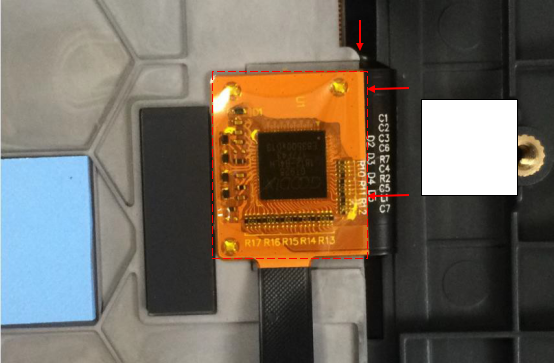
- Remove Resistance:
- Remove R289 Resistance for MS908

- Remove R375 Resistance for MS906 / MS906BT

3. Remove specific buttons for MS906, MS906BT, MS906TS
- Remove J11, J12 buttons(as showed below) for MS906BT, MS906TS

- Remove J11, J12 buttons (as showed below) for MS906

4. Pasting way of TP for MS906, MS906BT, MS906TS
- TP plate should be pasted parallelly with the magnesium alloy stent.


![IM608 PRO II Full Kit<br>[2-Year Free Update]](http://www.obdprice.com/cdn/shop/files/Autel_IM608S_II_Full_Kit_1_600x600.webp?v=1755662636)

![IM508S PRO<br>[2-Year Free Update]](http://www.obdprice.com/cdn/shop/files/Autel_MaxiIM_IM508S_Pro_600x600.webp?v=1755662755)
![IM508S<br>[2-Year Free Update]](http://www.obdprice.com/cdn/shop/files/AUTEL_MAXIIM_IM508S_600x600.webp?v=1755662895)


Leave a comment